How to Make a Signature Background Transparent
Turn a signature photo into a transparent PNG, adjust ink detection without losing thin strokes, and avoid white boxes in documents and email.
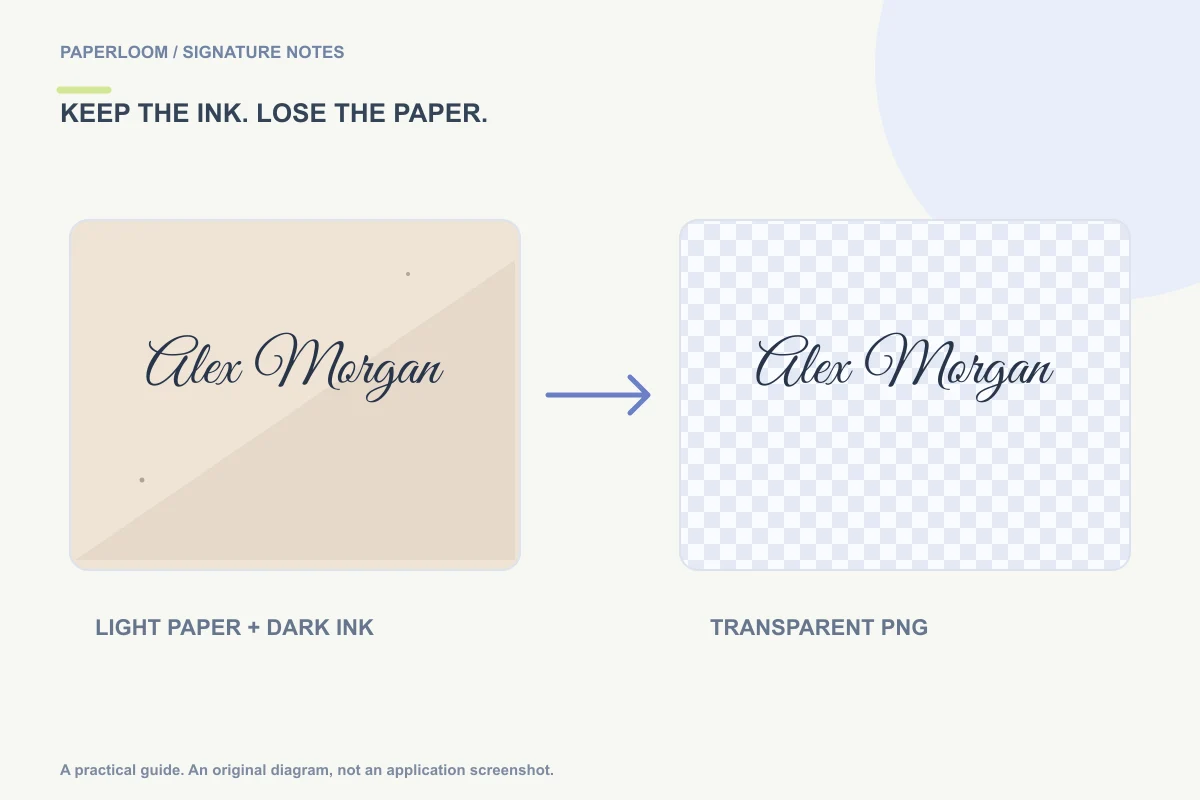
A transparent signature contains the ink without an opaque paper rectangle around it. The usual file choice is PNG, which can store transparency. Changing a filename from JPG to PNG does not remove the paper; the background pixels must actually be removed before export.
If you do not already have a signature image, the simplest route is to draw a signature on a blank canvas and download PNG. If your signature is on paper, use the photo-cleanup workflow below.
Take a photo that is easy to clean
Write in dark ink on plain, light paper. Keep the camera reasonably square to the sheet and include the complete signature. Leave a little space around the first letter, tall strokes, descending strokes and the final flourish.
Use even lighting. A hard shadow across half the name forces a background-removal tool to choose between keeping the shadow and losing lighter ink. Retaking the photo often gives a cleaner result than making extreme slider adjustments. Avoid ruled paper if its lines are as dark as the signature: a simple ink detector cannot reliably know which dark line you meant to keep.
Clean the photo in the browser
Open the signature generator, switch to Upload, and choose the photo. Paperloom currently accepts PNG, JPG and WebP up to 8 MB and 24 megapixels. The image is processed on your device rather than sent to a background-removal server.
Adjust Ink detection while looking at the preview. The aim is to keep the whole mark while dropping the light paper. Pay attention to small dots, crossings and the thinnest connecting strokes. A result that looks clean from a distance may have removed an important part of a letter.
Paperloom detects dark ink on light paper, removes small isolated specks and converts detected ink into vector paths. This is cleanup, not a generative restoration service. It cannot reconstruct a signature clipped out of the photo or accurately recover writing hidden beneath a strong shadow.
Inspect the transparent result before exporting
The checkerboard in the preview is a visual guide to transparent space. It should show through the empty area around the ink. Download PNG rather than taking a screenshot, because a screenshot can flatten the checkerboard into a normal image background.
Check the mark against both a light surface and a colored area. Look for a pale halo, stray spots or missing fine lines. If a handwritten letter disappears when you remove more background, move back toward preserving the letter and try a better source photo instead.
Choose the ink color after cleanup if you need black or signing-pen blue. Color changes affect the detected mark; they do not restore detail that was never detected. Keep the original photo separately until you are satisfied with the exported result.
Why a white box can still appear
- The source PNG was already opaque. PNG supports transparency, but not every PNG uses it.
- A JPG was selected at export. Paperloom's JPG export uses a white background.
- The preview was captured as a screenshot. That captures the displayed background as well as the ink.
- An application converted the image. Reinsert the original transparent PNG and inspect the saved document rather than only the editor preview.
The PNG, SVG and JPG comparison explains which format to keep for each destination.
Put the cleaned signature to work
For an editable document, follow the Word insertion guide. For an existing PDF, open Sign PDF, import the PNG, place it and download a new copy. For email, use the email signature tool and keep your typed name and contact details alongside the image.
Treat the cleaned file as a reusable personal asset. Do not publish it as a sample download or leave it on a shared computer unless you intend other people to have access to it. Transparency changes the appearance of a file, not who can reuse it.