How to Sign a PDF on iPhone Without Printing
Sign a PDF on iPhone with Preview or a browser-based signature PNG workflow. Learn how to place the mark and save the correct signed file.
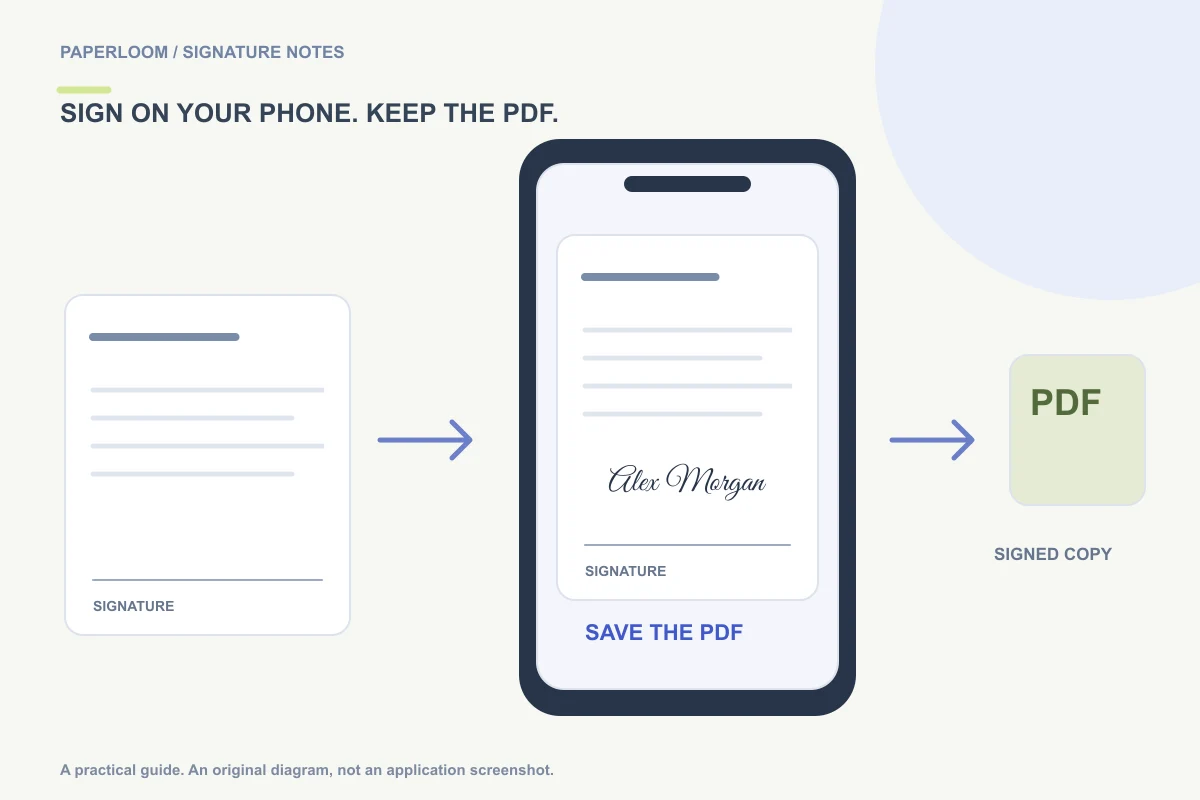
You can sign a PDF on iPhone without printing it. Use the signing controls in Apple's supported PDF interface, or open a browser-based PDF tool when you want to reuse a transparent signature PNG. In either case, save and reopen the finished file before attaching it to a message.
The exact controls depend on your iOS version and the app that opened the PDF. Identify the app first: an email attachment preview, Files, Preview and a webpage are not the same interface.
Option 1: use Apple's PDF signing controls
On iPhones with Preview, open the PDF in Preview and enter the form-filling tools. The Add control offers a signature option. Apple's iPhone PDF form guide describes this route. If you are in an app that uses Markup instead, look for its signature option rather than expecting the Preview toolbar to appear.
Choose or create the intended signature, place it where the form asks, and adjust its size. Use the app's save or sharing controls to keep the completed PDF. Read the surrounding labels before signing: a witness field and your own signature field can look similar on a small screen.
Option 2: use a signature PNG in Safari
This is useful when you already have a reusable signature image or want to choose a handwritten-style mark before opening the document.
- Keep the original PDF somewhere you can select through the file picker, such as Files.
- Open the signature generator in Safari. Draw a mark or choose a typed variation, then continue with Sign a PDF with this.
- On Sign PDF, choose Open a PDF and select the document. The current limit is 25 MB, and password-protected PDFs are not supported.
- If you started directly in the PDF tool, open the document and use Import signature PNG for an existing image.
- Place the signature on the right page, adjust its width and add a date if the form requires one.
- Download the signed PDF. Depending on the browser's behavior, you may need its download or sharing controls to save the file where you can find it again.
The PDF is processed in the browser. Selecting a file here does not send it to a signing server, although loading the site and its resources requires network access. Where you save or share the finished file afterward is a separate choice.
Make placement easier on a small screen
Read the whole signature area before zooming in. Check that the document is on the intended page, then position the mark without covering printed text. Use the size control to fit the available line rather than repeatedly drawing the same signature smaller.
Leave some space for tall letters and descending strokes. If the signature has a long flourish, consider a simpler version instead of squeezing it until it is unreadable. Finish any nearby text fields in an appropriate form editor; Paperloom's tool adds images and dates, not arbitrary PDF text editing.
Save the signed copy, not a screenshot
A screenshot can lose the other pages and may capture only the visible area. Save the PDF itself. Reopen the output from its saved location and check the filename, page count, signature placement and date.
When attaching it to an email or message, confirm that you selected the signed output rather than the original attachment. A filename such as form-signed.pdf helps distinguish the two. Keep the original until the recipient is satisfied with the returned version.
If something does not work
If the file picker cannot find the PDF, save a copy from the original app into a location the picker can access. If the image has a white rectangle, prepare a transparent signature PNG. If a protected PDF cannot open, use the recipient's authorized signing method rather than trying to bypass its protections.
For a larger-screen workflow, see signing a PDF on Mac. The general no-print PDF guide explains how image placement differs from a signing service with identity checks and audit records.